By GAIL BLAKELY
Photographs by Gene M. Marchand/Enterprise
 Making fresh cheese at home is one of those do-it-yourself projects that you will find yourself doing again and again once you have mastered the basic technique. The ricotta that comes out of your home kitchen is not a true ricotta, but it certainly tastes just as good.
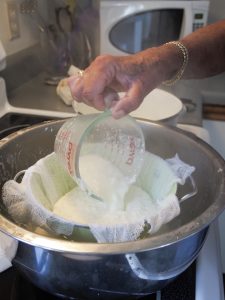
And it’s relatively simple: you need milk (sometimes buttermilk and cream as well), a little salt, and an acid such as vinegar or lemon juice. Time and patience, a colander lined with a couple pieces of cheesecloth, and you are good to go.
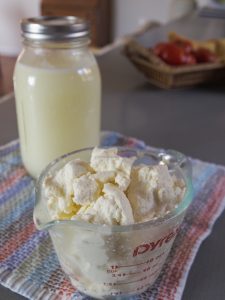 Some recipes are more foolproof than others. Ina Garten’s instructions from her book, “How Easy Is That?”, are probably the best for a first time cheesemaker. Hers results in a creamy product, whereas the ricotta from David Lebovitz in his blog from Paris gives you a somewhat drier, crumbly cheese. It all depends on what you want; Lebovitz’s addition of yogurt to his mixture is easy enough (once you have located the whole milk yogurt!).
What’s important here are a couple of factors: first, you need to look for whole milk that is made with as little processing as possible. This means locating a product that is made nearby (unless you have a cow in your backyard). You don’t want ultra-pasteurized milk, simply pasteurized is okay—and is available in most supermarkets. Start reading the labels so when you want to start making ricotta, you’ll know where to go for your basic ingredients.
It’s hard to find cream that is not ultra-pasteurized, but the addition of heavy cream to your cheese will indeed give it a more velvety texture. You want to make sure you get good coagulation when you add the acid—you will quickly see the curds separate from the whey, the liquid that drains off.
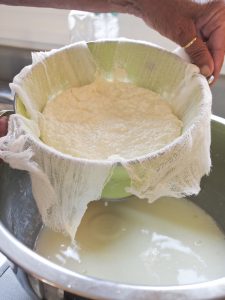
One other point about the process: make sure you have plenty of cheesecloth, as you will want to make three or four layers in your colander (unless you have access to butter muslin, which is a 90# high quality cloth). Thermometers are not required, nor is a banana tree (for the final draining), but both of these are useful to have. If you don’t want to save the whey for using in bread or soup, you just need to set your colander in the sink, so you don’t dirty a bowl. Really, to start with, you should just go ahead and try one of the following recipes and see how it goes. You will be amazed; as the Barefoot Contessa says, “How Easy is That?”
Ricotta Cheese with Cream
(from Ina Garten)
4 cups whole milk
2 cups heavy cream
1 tsp kosher salt
3 tbsp good-quality white wine vinegar
Set a large sieve over a deep bowl; dampen 2 layers of cheesecloth with water and line the sieve with the cheesecloth. Pour the milk and cream into a stainless-steel or enameled pot such as Le Creuset; stir in the salt. Bring to a full boil over medium heat, stirring occasionally. Turn off the heat and stir in the vinegar-allow the mixture to stand for 1 minute until it curdles; then ladle the mixture into the cheesecloth-lined sieve and allow it to drain into the bowl at room temperature for 20 to 25 minutes, occasionally discarding the liquid that collects in the bowl. The longer you let the mixture drain, the thicker the ricotta. Transfer the ricotta to a bowl, discarding the cheesecloth and any remaining whey. Use immediately or cover with plastic wrap and refrigerate. The ricotta will keep refrigerated for 4 to 5 days.
 Ricotta Cheese with Yogurt
(from David Lebovitz)
2 quarts whole milk
1 cup plain whole-milk yogurt
Optional: 1/2 cup heavy cream
2 tsp white vinegar
1 tsp kosher salt
In a large pot, bring the milk, yogurt, heavy cream (if using), vinegar, and salt to a boil. Very gently boil for one to two minutes, until the milk is curdled. Meanwhile, line a strainer with a few layers of cheesecloth and set it over a deep bowl; pour the milk mixture into the strainer and let drain for 15 minutes. Gather the cheesecloth around the curds and squeeze gently to extract any excess liquid. This cheese is best served slightly warm, although it can be refrigerated for up to three days, if desired.
So now you have your dreamy, delicious fresh ricotta…what to do with it? Add it to pasta or an omelet, drop a spoonful into scrambled eggs, or serve it with a drizzle of honey and chopped nuts. Pack it into a small bowl that has been lined with plastic wrap and unmold it onto a tray; drizzle it with some aged balsamic vinegar and a little (very good) olive oil and serve it with crackers, or toast.
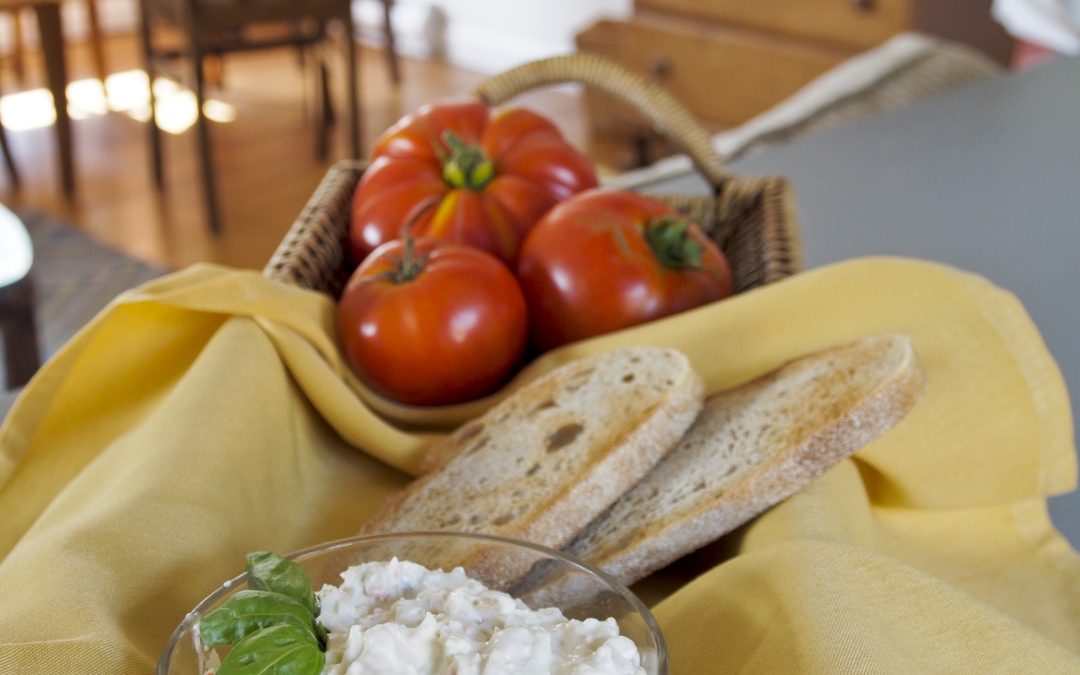
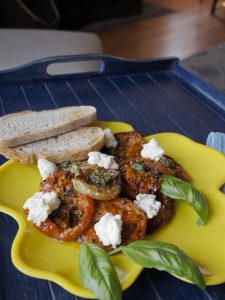
The possibilities are endless; try one of these recipes and then invent your own. Use the accompanying photo as a starting point—set this out at your next wine party and watch it disappear!
 Quick Bruschetta
1 cup homemade ricotta
2 tbsp minced fresh herbs
1 clove garlic
2 scallions, chopped fine
Whole grain bread, sliced and toasted
Best quality extra virgin olive oil
Nasturtium flowers for garnish
Mince the garlic with a large pinch of kosher salt; place it in a bowl and mix in the herbs (your choice: parsley, tarragon, dill, fennel, lemon thyme, basil, oregano). Add the fresh ricotta and mix well; stir in the scallions and check the seasoning, adding more salt and a little white pepper if needed. Toast some whole grain bread and spread the cheese mixture on top, then cut into bite-sized pieces and drizzle with a little olive oil. Arrange on a serving plate and garnish with fresh nasturtium flowers before serving.
 Ciabatta Pizzas
1 1/2 pints cherry tomatoes, halved (about 3 cups)
1 tbsp plus 2 tsp olive oil, divided
One loaf ciabatta, split in half lengthwise
1 garlic clove, smashed
1/2 cup homemade ricotta
3/4 cup coarsely grated Parmesan (about 3 ounces)
2 tbsp basil pesto
In a small bowl, toss the tomatoes with 1 tbsp oil and season to taste with salt and freshly ground black pepper. Spread the mixture on a shallow rimmed baking sheet and roast in a preheated 425F oven for 10 to 12 minutes, until the tomatoes start to blister and are fragrant. Place bread, cut side up, on another rimmed baking sheet and bake for 5 minutes; remove the bread from the oven and rub the cut side with the garlic. Top the ciabatta with spoonfuls of ricotta and cover evenly with the tomato mixture, then sprinkle with parmesan. Return to the hot oven and bake until the parmesan melts, about 10 minutes. Whisk the pesto with the remaining oil in a small bowl; when it’s smooth, drizzle it on the pizzas and season with salt and pepper. Cut into slices to serve while warm.

